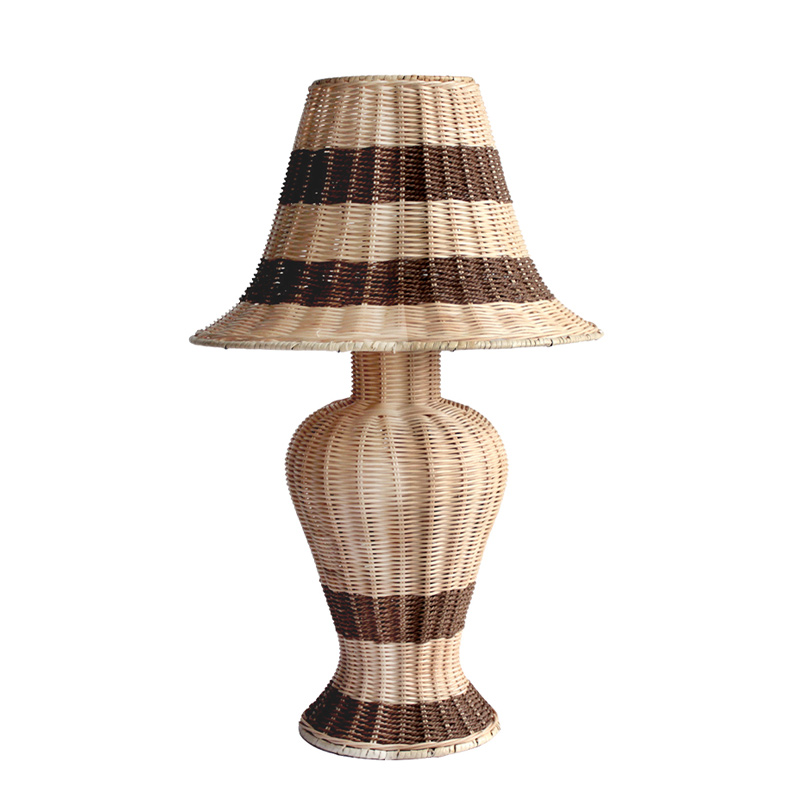
Learning how to change a light fixture is one of the easiest ways to instantly transform a room. Whether you’re replacing an outdated fixture or adding new decor, updating your lighting can give your space a fresh look with minimal effort. The best part? You don’t need to be an electrician to do it!
With the right guidance from XINSANXING and a few simple tools, you can safely replace your old light fixtures and enjoy a bright, stylish upgrade. Let’s dive into this step-by-step guide and get started!
Materials and Tools Needed to Replace a Light Fixture
Before diving into the step-by-step process of replacing a light fixture, make sure you have everything you need to replace the light fixture. Having the right materials and tools in advance is key to completing a quick, hassle-free replacement. Here’s a checklist to ensure you have a successful replacement:
Materials
New light fixture (make sure it fits in the electrical box and complements the design of the room)
Wire nuts (usually included with new fixtures, but it’s a good idea to have extras)
Electrical tape
Mounting brackets (usually included with new fixtures)
Light bulbs (as required by the fixture)
Tools
Voltage tester (make sure the power is off before working on wires)
Screwdrivers (flat and Phillips)
Wire strippers/cutters (for removing wire insulation, if necessary)
Needle-nose pliers (for gripping and twisting wires)
Ladder or footstool (depending on ceiling height)
Utility knife (optional - for trimming wires or removing excess insulation)
Flashlight (if working in dimly lit areas)
Safety equipment
Safety goggles (protects eyes from debris)
Insulated gloves (for extra protection when handling wires)
Once you have all your materials and tools ready, you’re ready to get started!
How to Replace a Light Fixture – Instructions
Step 1: Turn off the power
This is the most critical step. Go to the circuit breaker panel and turn off the power to the room you will be working on.
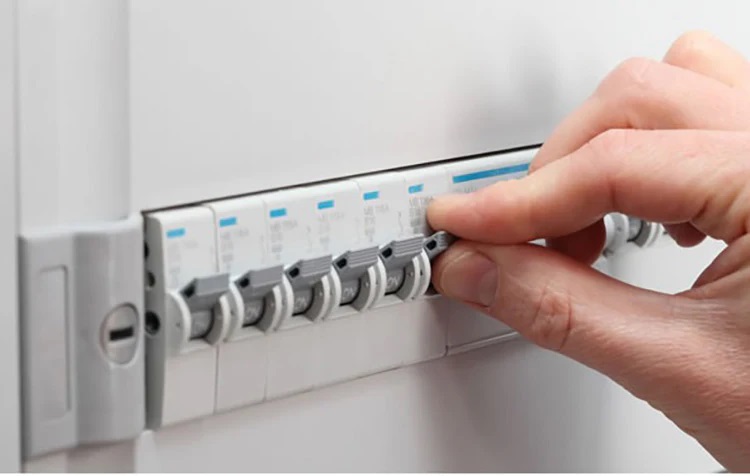
Never rely on just flipping the light switch – shutting off the power to the circuit breaker ensures your safety. Double-check the light fixture wires with a voltage tester to verify that no current is flowing.
Step 2: Remove the light fixture’s decorative parts
Carefully remove the glass cover or decorative parts of the old light fixture. These are usually held on by screws, so use a screwdriver to remove them.
Put all screws and parts in a safe place so you can easily find them later. This will make the light fixture lighter and easier to work on as you proceed.
Step 3: Disconnect the wiring
Now you start to get into the technical part. Unscrew the wire nuts that connect the old light fixture’s wires to the house’s wires. Typically, you’ll see three wires:
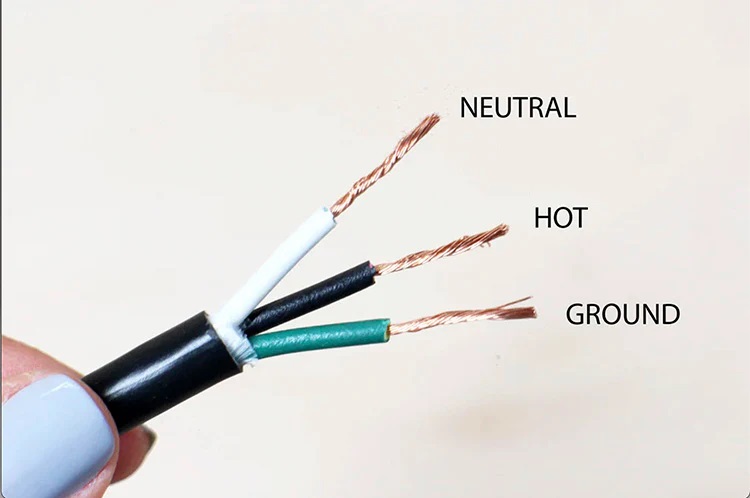
· Black (hot): This carries the current from the distribution box to the light.
· White (neutral): This completes the circuit and returns it to the distribution board.
· Green or bare copper (ground): Connect the light fixture to ground for safety.
Carefully disconnect each wire, noting how they are connected (it's helpful to take a photo for reference). Once disconnected, make sure the cables don't touch.
Step 4: Remove the Old Fixture
Once you have safely disconnected the wires, unscrew the fixture from the ceiling. Most fixtures are attached to a metal bracket on the ceiling electrical box with screws. Once the screws are removed, you can carefully lower the fixture and set it aside.
Step 5: Measure and Trim the Wires
Inspect the wires coming out of the ceiling. If the wires are frayed or too long, use wire cutters to trim them to a manageable length—about 6 inches is usually ideal. If the ends of the wires aren't exposed, you may also need to use wire strippers to strip off a small amount of insulation. This ensures a clean, secure connection when you install the new fixture.
Step 6: Replace the Hardware Plate
Your new fixture should come with a mounting bracket or hardware plate. Remove the old bracket from the electrical box and secure the new bracket in place with screws.
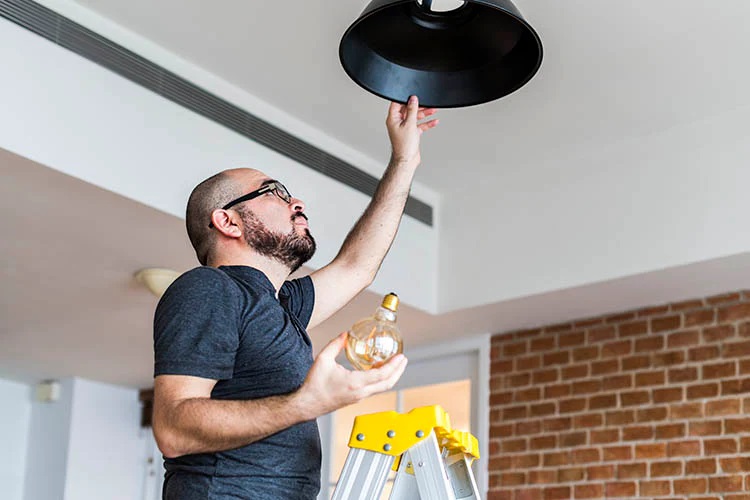
Make sure it is securely fastened, as this will support the weight of the new fixture.
Step 7: Reconnect the Wires
Next comes the most satisfying part: reconnecting the wires! Start by matching the wires on the fixture to the corresponding wires on the ceiling:
· Black to black (hot wire)
· White to white (neutral wire)
· Green or copper wire to green or copper wire (ground wire)
Twist the wires together and secure with a wire nut. Make sure the wire nut is tight and no bare wire is exposed. For extra security, wrap the wire nut with electrical tape. This step ensures a strong, secure connection.
Step 8: Mount and Assemble Your New Fixture
Once you have completed the wiring, securely fasten the new fixture to the mounting bracket using the provided screws to ensure a safe and secure setup.
Make sure everything is properly aligned and securely fastened. If your fixture has decorative elements like a glass shade or cover, now is the time to screw them into place. Don't forget to screw in the new bulb!
Step 9: Restore Power
Once everything is securely installed, return to the breaker box and restore power to the room. Flip the light switch to check if the fixture is working properly. If the light comes on, you have successfully installed your new fixture!
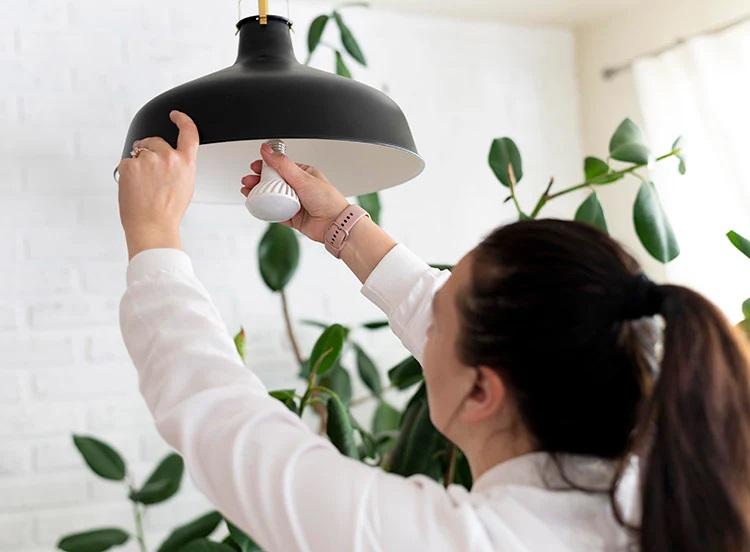
Congratulations—you just upgraded your room with a new fixture! By following these steps, you can save money and gain valuable DIY skills.
FAQ:
Can I Replace a Light Fixture Myself?
· If you take safety precautions and feel confident, you can replace a light fixture yourself. If you are unsure, it is best to consult a professional electrician to ensure safety and compliance with regulations.
Is it safe to replace a light fixture yourself?
· As long as the power is turned off, the correct tools are used, and safe connections are made, it is safe to replace a light fixture. If you are unsure, consult a professional.
Do I need to call in an electrician to replace a light fixture?
· You don't always need an electrician to replace a light fixture, especially if you are confident handling basic electrical tasks and the existing wiring is in good condition. However, if you are unsure about the process, it is best to hire a professional to ensure safety and peace of mind.
Can I just turn off the switch to start replacing the light fixture?
· No, it is unsafe to just rely on turning off the switch. Before starting any electrical work, you should always turn off the power to the circuit breaker and use a voltage tester to confirm that no current is flowing.
How much does an electrician charge to replace a light fixture?
· The labor cost for an electrician to replace a light fixture is usually $50 to $300, and for complex light fixtures such as chandeliers, the total cost (including materials) can be more.
Do I need to be an electrician to change lights?
· No, you do not need to be a licensed electrician to change light fixtures, but having some knowledge of electrical work is beneficial.
By following the steps outlined in this guide to replacing light fixtures, you can safely and effectively replace your old light fixtures with stylish new ones.
Whether it’s for aesthetics or functionality, this task will save you money and give you the confidence to complete your home improvement project. So get your tools ready, follow the instructions, and enjoy your beautiful, bright space!
If You Are in Business, You May Like
Post time: Dec-12-2024


