


Installing garden lights can transform your outdoor space, adding beauty, ambiance, and safety. Whether you're a DIY enthusiast or a novice, this step-by-step guide will help you install garden lights efficiently and effectively. Follow these instructions to enhance your garden with the perfect lighting.

Step 1: Plan Your Layout
Before you start installing garden lights, plan the layout of your lighting. Consider the following:
Purpose: Determine what you want to illuminate – pathways, garden beds, trees, or seating areas.
Placement: Decide where each light will go. Sketch a rough layout on paper or use garden design software.
Power Source: Identify the location of power outlets if using wired lights, or ensure ample sunlight for solar-powered lights.
Step 2: Choose the Right Lights
Select lights that suit your garden's needs and aesthetic. Common types of garden lights include:
Path Lights: Ideal for illuminating walkways and driveways.
Spotlights: Perfect for highlighting specific features like trees or statues.
Hanging Lanterns: Great for creating a festive or cozy atmosphere.
Solar Lights: Eco-friendly and easy to install without wiring.
Deck Lights: Useful for lighting up steps and deck areas.
Step 3: Gather Your Tools and Materials
Ensure you have all necessary tools and materials before you start. You may need:
Garden lights
Power drill
Shovel or garden trowel
Wire cutters and strippers (for wired lights)
Electrical tape
Screws and anchors
Outdoor extension cords (if needed)
Zip ties or clips (for string lights)
If You Are in Business, You May Like
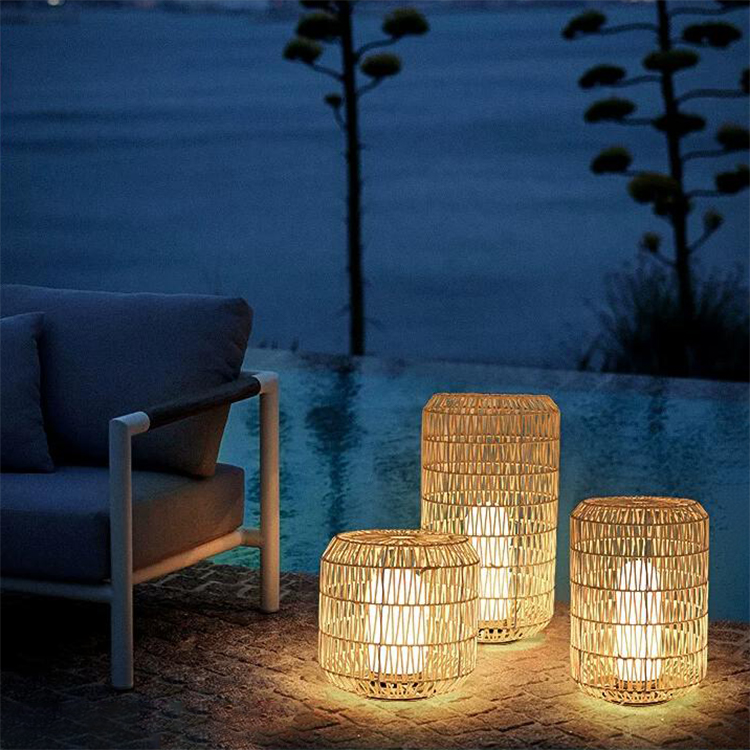
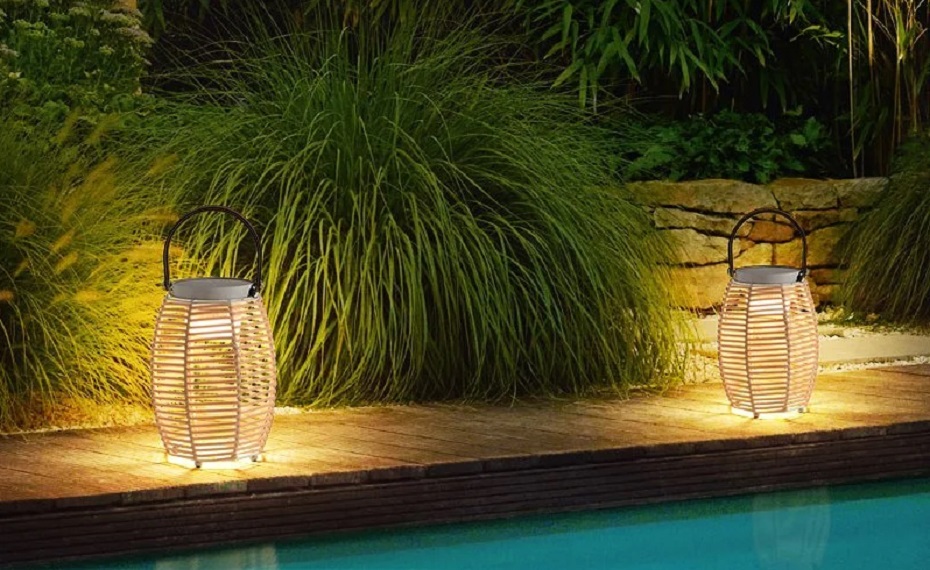
Solar Rattan Lanterns
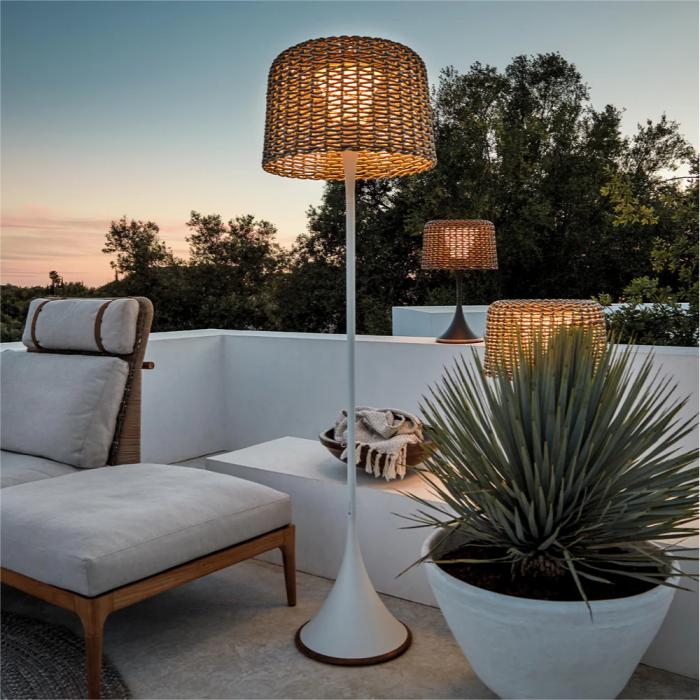
Rattan Solar Floor Lamps

Solar Flower Stand Lights
Step 4: Install Path Lights
Mark the Spots: Use stakes or markers to indicate where each path light will go.
Dig Holes: Dig small holes at each marked spot, ensuring they are deep enough to secure the lights.
Place Lights: Insert the lights into the holes and secure them according to the manufacturer's instructions.
Connect Wiring: For wired lights, connect the cables using wire connectors and cover with electrical tape. Ensure connections are waterproof.
Test Lights: Turn on the power to test the lights. Adjust their position if necessary.
Step 5: Install Spotlights
Position Lights: Place the spotlights at the base of the features you want to highlight.
Secure Lights: Use stakes or mounts to secure the lights in place.
Run Wiring: If using wired spotlights, run the cables along the ground or bury them slightly to keep them out of sight. Use wire connectors and electrical tape to join wires.
Angle Lights: Adjust the angle of the spotlights to ensure they highlight the desired features effectively.
Test Lights: Turn on the power and test the lights, making adjustments as needed.
Step 6: Install Hanging Lanterns
Plan a Path: Decide where you want to hang your lanterns. Common locations include trees, pergolas, fences, and eaves.
Install Hooks or Clips: Install hooks or clips at regular intervals to hold the lights.
Hang the Lights: Hang the lanterns on the hooks or clips, making sure they are evenly spaced.
Connect to Power: Plug the lights into an outdoor extension cord or solar panel, if applicable.
Test the Lights: Turn on the lights to make sure they work, adjusting their position for best results.


Step 7: Install Solar Lights
Position Lights: Place the solar lights in areas that receive direct sunlight during the day.
Secure Stakes: Insert the stakes into the ground, ensuring they are firmly in place.
Test Lights: Solar lights should automatically turn on at dusk. Check their placement and make any necessary adjustments to ensure optimal lighting.
Step 8: Final Checks and Adjustments
Check Connections: Ensure all wiring connections are secure and waterproof.
Hide Cables: Conceal any exposed cables to maintain a clean appearance.
Adjust Lights: Make final adjustments to the angle and position of each light for optimal illumination.
Set Timers: If your lights have built-in timers or smart controls, set them according to your preferences.
Installing garden lights can significantly enhance the beauty and functionality of your outdoor space. By following this step-by-step guide, you can achieve a professionally lit garden that adds value to your home. Remember to prioritize safety and quality in your installation process to enjoy long-lasting, beautiful garden lighting.
Post time: Jul-02-2024