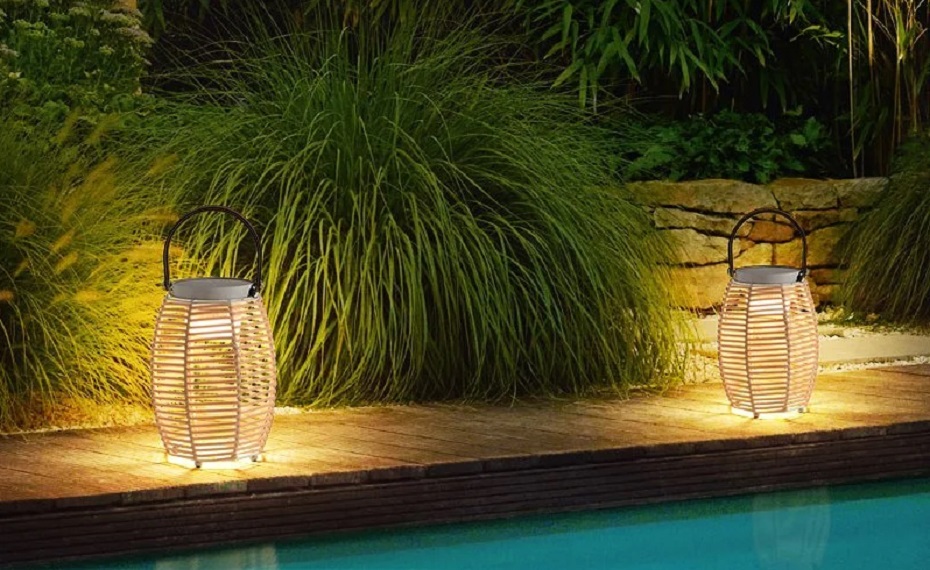
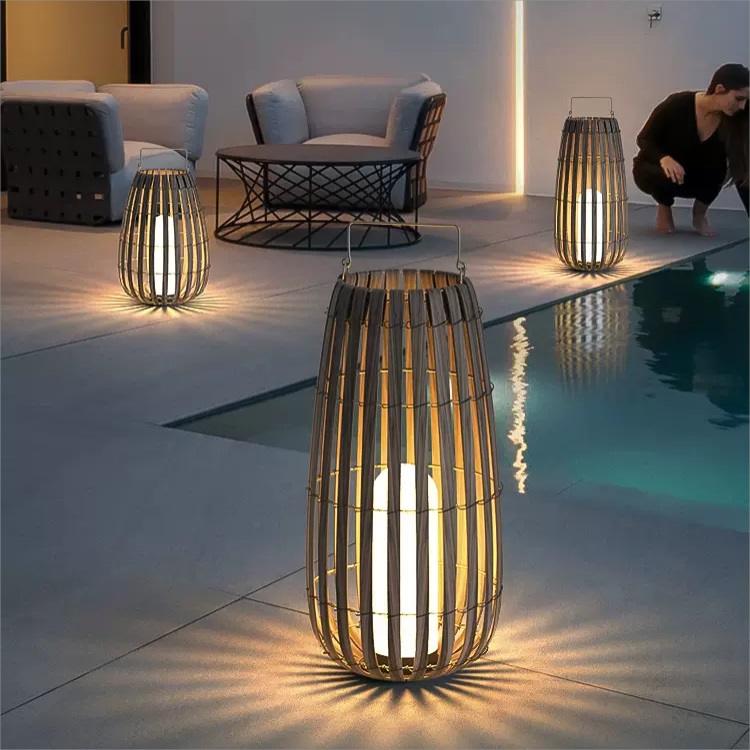
Outdoor string lights can transform any space into a magical wonderland, providing ambiance and charm to gardens, patios, and other outdoor areas. Whether you're decorating for a party or simply enhancing your outdoor living space, hanging string lights can be straightforward if you follow these steps.
This guide will walk you through how to hang outdoor string lights, from planning to execution, ensuring a professional and aesthetically pleasing result.
1. Planning Your Outdoor String Lights
A. Determine the Area
Identify the space you want to decorate. Measure the area to estimate the length of string lights you'll need. Common areas include patios, decks, pergolas, and garden paths.
B. Choose the Right Lights
Select outdoor string lights that suit your style and needs. Consider factors such as bulb type (LED or incandescent), bulb shape (globe, Edison, fairy lights), and whether the lights are weather-resistant.
C. Gather Supplies
In addition to the string lights, you'll need the following supplies:
Outdoor extension cords
Light hooks or clips
Cable ties
Ladder
Tape measure
Pencil and paper for sketching a layout
If You Are in Business, You May Like
2. Preparing for Installation
A. Plan the Layout
Sketch a simple diagram of where you want the lights to hang. This helps visualize the final look and ensures you have enough lights for the space.
B. Test the Lights
Before hanging, plug in the string lights to ensure all bulbs are working. Replace any non-functioning bulbs.
C. Check Power Source
Identify a suitable power source close to the area. Ensure it’s weatherproof if exposed to the elements. Use outdoor extension cords if necessary.
3. Hanging the Lights
A. Install Anchors and Hooks
On Walls or Fences: Use screw-in hooks or adhesive light clips. Space them evenly according to your plan.
On Trees or Poles: Wrap string or rope around branches or poles to secure hooks or use specially designed light clips.
On Roofs or Eaves: Attach gutter hooks or clips to the roofline or eaves.
B. String the Lights
Start at the Power Source: Begin hanging the lights from the power source, ensuring they reach the nearest outlet.
Follow Your Layout: String the lights according to your plan, attaching them to the hooks or clips.
Maintain Tension: Keep the lights slightly taut to avoid sagging but not so tight that they risk snapping or stretching.
C. Secure the Lights
Use Cable Ties: Secure the lights with cable ties to prevent them from moving in the wind.
Adjust and Tweak: Ensure the lights are evenly spaced and adjust as needed for symmetry and appearance.
4. Safety Tips
A. Use Outdoor-Rated Equipment
Ensure all lights, extension cords, and plugs are rated for outdoor use to avoid electrical hazards.
B. Avoid Overloading Circuits
Check the power requirements of your string lights and avoid overloading electrical circuits. Use a power strip with a built-in circuit breaker if necessary.
C. Keep Away from Flammable Materials
Ensure lights are not in contact with flammable materials like dry leaves or wooden structures.
5. Maintenance and Storage
A. Regular Checks
Periodically check the lights for any signs of wear, damage, or faulty bulbs. Replace any damaged components immediately.
B. Proper Storage
If you plan to take the lights down after a season, store them properly to prevent tangling and damage. Coil the lights carefully and store them in a cool, dry place.
C. Clean the Lights
Clean the lights with a damp cloth to remove any dirt or debris that can accumulate over time.
Hanging outdoor string lights can be a rewarding DIY project that enhances your outdoor space with warmth and beauty. By following these steps, you can ensure a safe and aesthetically pleasing installation that will impress your guests and provide delightful ambiance for any occasion. Remember to plan carefully, use the right tools, and prioritize safety to enjoy your beautifully lit outdoor area.
Recommend Reading
Post time: Jul-17-2024


