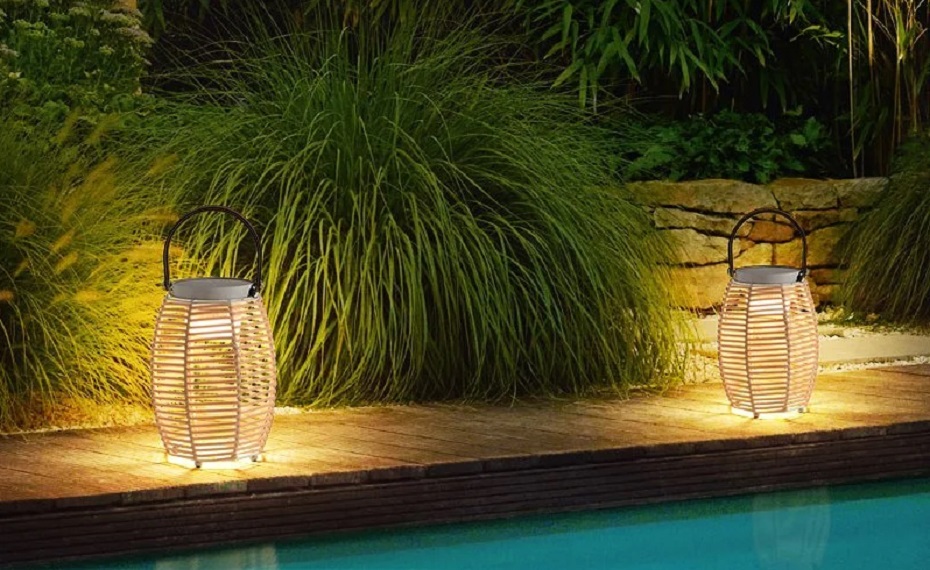
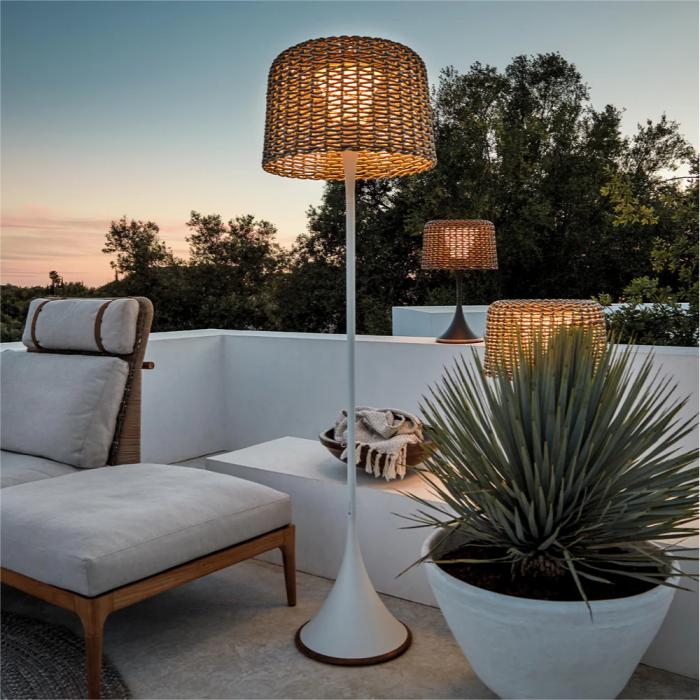
Solar garden lights are an excellent way to illuminate your outdoor space while being environmentally friendly. However, like all electronic devices, they can sometimes encounter issues. This guide will help you understand how to repair solar garden lights, ensuring they stay functional and efficient. Following these steps will save you time and money while extending the life of your lights.
Ⅰ. Understanding the Components of Solar Garden Lights
Solar garden lights typically consist of a few main components:
1. Solar Panel: Captures sunlight and converts it into electrical energy.
2. Rechargeable Batteries: Store the energy generated by the solar panel.
3. LED Bulb: Provides illumination.
4. Control Board and Wiring: Manage the power flow and functionality of the light.
Ⅱ. Common Issues and Symptoms
Before starting repairs, it's important to identify the symptoms and potential issues:
1. Dim or No Light: Could indicate a problem with the solar panel, batteries, or LED bulb.
2. Flickering Light: Often caused by poor connections or faulty wiring.
3. Short Operating Time: Typically due to battery issues or insufficient sunlight exposure.
If You Are in Business, You May Like
Ⅲ. Step-by-Step Guide to Repairing Solar Garden Lights
1. Inspecting and Cleaning the Solar Panel
1.1 Check for Dirt and Debris: Dirty solar panels can't absorb sunlight efficiently. Clean the panel with a damp cloth and mild soap if necessary.
1.2 Inspect for Damage: Look for cracks or other damage. Damaged panels may need to be replaced.
2. Replacing the Batteries
2.1 Locate the Battery Compartment: Usually found underneath the light or in a separate compartment.
2.2 Remove Old Batteries: Dispose of them properly as per local regulations.
2.3 Install New Rechargeable Batteries: Ensure they are the correct type and size recommended by the manufacturer.
3. Checking and Fixing the LED Bulb
3.1 Remove the Bulb Cover: Depending on the model, this may require unscrewing or snapping off the cover.
3.2 Inspect the LED Bulb: Check for signs of damage or burnout. Replace with a compatible LED bulb if necessary.
4. Repairing the Wiring and Connections
4.1 Examine the Wiring: Look for loose or corroded connections. 4.2 Tighten any loose connections and clean off corrosion with a suitable cleaner.
4.3 Test the Connections: Use a multimeter to ensure continuity. Repair or replace damaged wires as needed.
Ⅳ. Preventive Maintenance Tips
Regular Cleaning and Inspection
1. Clean the Solar Panel Monthly: Remove dirt and debris to ensure maximum efficiency.
2. Inspect Components Regularly: Check for any signs of wear and tear, especially after harsh weather conditions.
3. Remove Batteries: Store them separately in a cool, dry place to prevent leakage.
4. Store Lights Indoors: If you live in an area with harsh winters, store your solar lights indoors to protect them from extreme conditions.
By following these steps, you can effectively repair and maintain your solar garden lights, ensuring they provide reliable illumination for your outdoor spaces. Regular maintenance and timely repairs will extend the life of your lights, making them a sustainable and cost-effective lighting solution. Remember, a little attention to detail goes a long way in keeping your garden beautifully lit all year round.
Recommend Reading
Post time: Jul-12-2024


