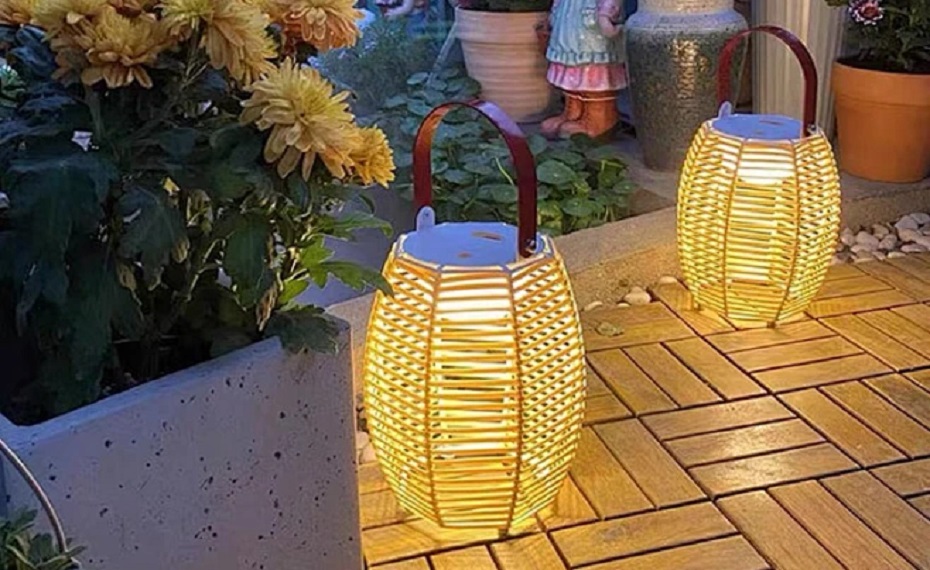
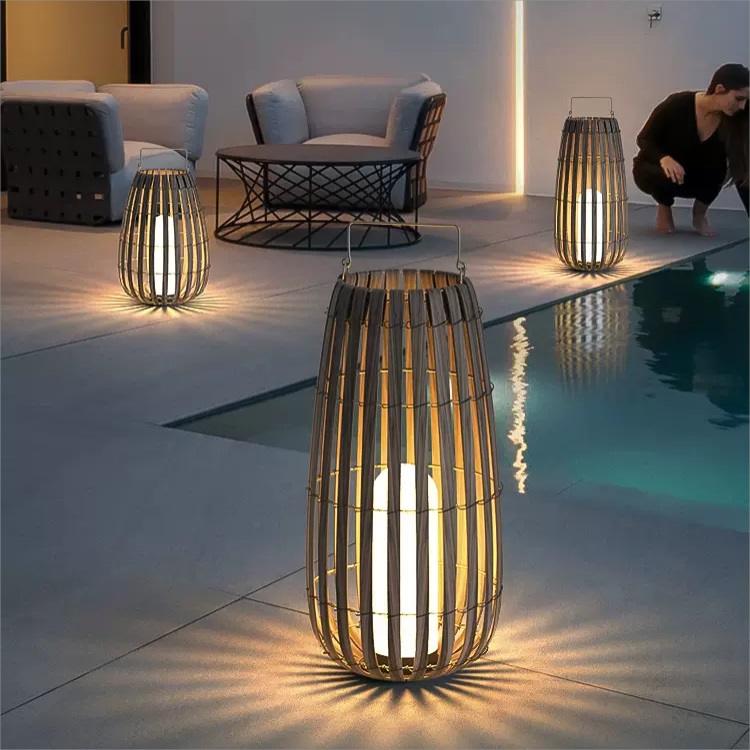
As environmental awareness grows, solar lanterns are favored by consumers as an energy-saving and beautiful outdoor lighting option. Solar lantern projects are not only suitable for home and gardening decoration, but also become ideal DIY projects for school and company team building activities.
This article will tell you how to make solar lanterns from a professional perspective, including the required materials, detailed steps and practical production techniques.
What is a solar lantern?
A solar lantern is a lamp that uses solar panels (photovoltaic panels) to convert sunlight into electricity. It is a convenient decorative lamp that provides light for a courtyard or outdoor space. Compared with traditional lamps, solar lanterns are not only energy-saving and environmentally friendly, but also simple and convenient to install and maintain.
The main components of solar lanterns:
- Solar panels: convert sunlight into electricity.
- Rechargeable batteries: store electricity generated during the day and provide continuous power at night.
- Control circuit: controls the lantern's switch, charging and other functions, usually automatically adjusted by light sensing.
- LED light: a low-power, high-brightness light source.
If You Are in Business, You May Like
Materials needed to make a solar lantern:
- Solar panel: 3V-5V voltage is recommended, suitable for small outdoor lamps.
- Rechargeable battery: NiMH battery or lithium battery, 1000-1500mAh capacity is preferred.
- LED light: Choose suitable brightness and low power consumption LED, color can be selected according to personal preference.
- Control circuit board: used to adjust the switch and light control to ensure that the solar light automatically turns on when it gets dark.
- Lantern shell: It can be a glass bottle, plastic lampshade or other recyclable container, waterproof material is recommended.
- Wires and connectors: used to connect the wires of the circuit to ensure safe conduction.
- Hot melt adhesive and double-sided adhesive: used to fix the circuit board and wires.
Steps to make a solar lantern
1. Prepare the lantern shell
Choose a waterproof lantern shell that can block wind and rain to protect the internal circuit. Clean the shell surface to make it dust-free so that the circuit board and LED light can be attached later.
2. Install the solar panel
Place the solar panel on the top of the lantern and fix it with double-sided tape or hot melt adhesive. For the best sunlight absorption effect, make sure that the solar panel can directly contact the sunlight and there is no obstruction.
3. Connect the rechargeable battery
Connect the positive and negative poles of the solar panel to the positive and negative poles of the rechargeable battery respectively. Pay attention to the polarity here to avoid connecting the positive and negative poles incorrectly. The voltage of the rechargeable battery should match the voltage of the solar panel to ensure the best charging efficiency.
4. Install the control circuit board
Connect the control circuit board to the rechargeable battery and ensure its connection with the LED light. The control circuit board can automatically detect the light intensity, ensuring that the lantern is turned off during the day and automatically lights up at night, extending the battery life.
5. Install the LED light
Fix the LED light inside the lantern, as close as possible to the transparent area to enhance the penetration of light. Use hot melt glue to fix the LED light and wires to prevent the connection from falling off.
6. Test and adjust
After completing the installation, check all connections and test the working status of the lantern after ensuring that they are correct. In a dim light environment, observe whether the lantern can light up automatically and last for a few minutes to confirm the circuit stability.
Notes during production
Battery matching: Choose batteries that match the voltage of the solar panel to ensure charging efficiency and battery life.
Waterproof design: When used outdoors, ensure that the battery, circuit board and other components are sealed to prevent water from damaging the circuit.
Light control sensitivity: Choose a high-sensitivity control circuit board to ensure that the solar lantern can accurately sense light changes.
Maintenance tips for solar lanterns
Although solar lanterns do not require frequent maintenance, proper maintenance can extend their service life:
Clean the solar panel regularly: dust will affect light absorption and reduce charging efficiency.
Check the battery life: Generally, the battery can be used for 1-2 years, so be sure to replace the battery in time.
Check the line regularly: In outdoor environments, the wires may age due to climate influences and need to be checked and maintained regularly.
Common questions about solar lanterns
In rainy days, the brightness of the lantern will be reduced due to insufficient sunlight. You can choose a battery with a larger capacity or use a high-efficiency solar panel to increase energy storage.
You can increase the number of LEDs or choose a brighter LED light, but you need to ensure that the battery capacity is sufficient to support higher power consumption.
The lantern should be placed in an unobstructed sunny location to ensure the charging efficiency of the solar panel.
The life of a general rechargeable battery is 500-1000 charge and discharge cycles, usually 1-2 years, depending on the frequency of use and maintenance.
This is an abnormal manifestation of the light control system. It may be a failure of the light sensor or poor contact of the control circuit board. The circuit connection needs to be readjusted or the sensor needs to be replaced.
The weak light in winter and the shortened duration may affect the charging efficiency. You can increase sunlight reception and improve charging effect by adjusting the angle of the solar panel.
Recommend Reading
Post time: Nov-01-2024


